Timeline To Teach English In South Korea
An Experience of a Lifetime
Are you dreaming of an exciting adventure in South Korea? If so, you might be curious what steps you need to take. Here is an in-depth timeline of the process from submitting your application to landing in South Korea in only a matter of months! Without further adieu, here is the exact timeline to teach English in South Korea.

Month 1: Application & Interview
- Day 1: Emma, our excited and adventurous teacher, takes the first step and applies to teach English in January for a start date in May!
- Day 3: Then, an Aclipse Recruiter reaches out and they arrange a day and time to speak- either for information purposes or for an interview.
- Day 6: After she completes an interview with our Aclipse Recruiter, Emma is now ready for the next steps. The excitement is building!
- Day 7: Emma has passed her initial interview with flying colors and submits the application items. Now, she waits to hear back from her Aclipse Recruiter to find out her application results with schools in Korea!
- Day 11: Great news! Emma receives the initial offer letter from the school! Her Aclipse Recruiter checks in to congratulate her and to schedule a follow-up call.
- Day 13: Then, Emma and her Aclipse Recruiter have a phone call to review any questions on her initial offer and to discuss next steps, which is prepping her documents for the E2 Visa.

- Day 14: Emma accepts her offer and signs a Memorandum of Understand (MOU). This is an intermediate agreement before a final contract is signed with a specific location.
- Day 15 to 24: In the meantime, she works diligently on gathering her documents for the E2 Visa. Her Aclipse Recruiter checks in to support her and answers any questions that arise.
- Day 25: Emma submits the required documents for her E2 visa and her Aclipse Recruiter reviews them for accuracy.
- Day 26: To make sure everything’s in line, Emma’s documents are looked over by an Aclipse E-2 documents expert before she mails them to South Korea.
- Day 30: Once verified, the Aclipse documents expert ships her documents to HQ in South Korea and Emma receives a confirmation email to let her know. Things are starting to feel extra real now!
Month 2 and 3: Visa & Location Placement
- Day 33: In just a couple days, Emma’s documents arrive at headquarters in South Korea.
- Day 34 to 49: Meanwhile, Emma is engaged regularly by her Aclipse Recruiter, to start preparing the logistics for her upcoming adventure!
- Day 50: The placement process beings and Emma is given a heads up by her Aclipse Recruiter.

- Day 57: Emma strikes gold!! She receives her contract in the first week of the placement process! She asks her Aclipse recruiter any questions about the contract and sets up an official welcome call with HQ in South Korea!
- Day 60: Emma is excited to speak with HQ and is able to ask any remaining questions that might remain.
- Day 64: Now that she feels 100% secure about all the details, she sends her signed contract back to her Aclipse Recruiter.
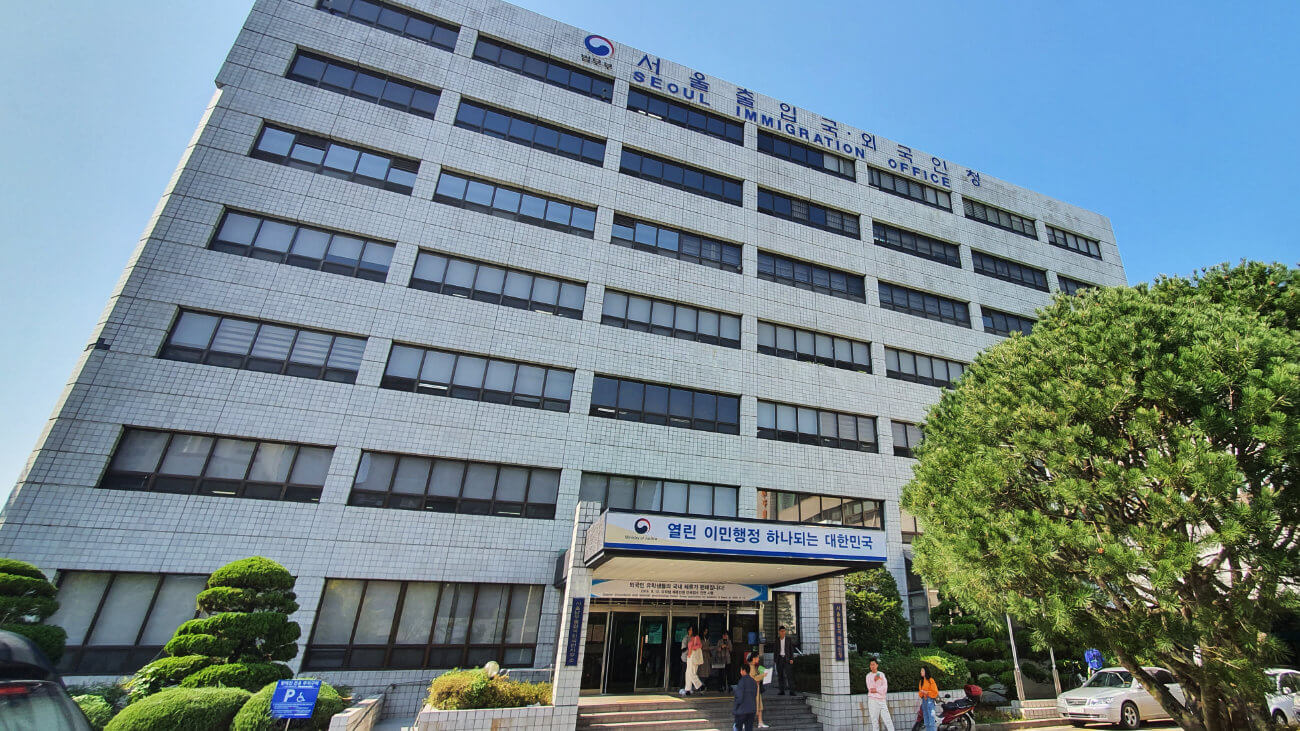
- Day 69: Emma’s E-2 visa documents (along with her signed contract), arrive at Korean Immigration office so they can process a “visa code” to finalize the visa. Processing times usually take between 2 to 4 weeks.
- Day 83: Now that everything is being officially processed by Immigration, Emma receives her final pre-departure information from her Aclipse Recruiter and they review together.
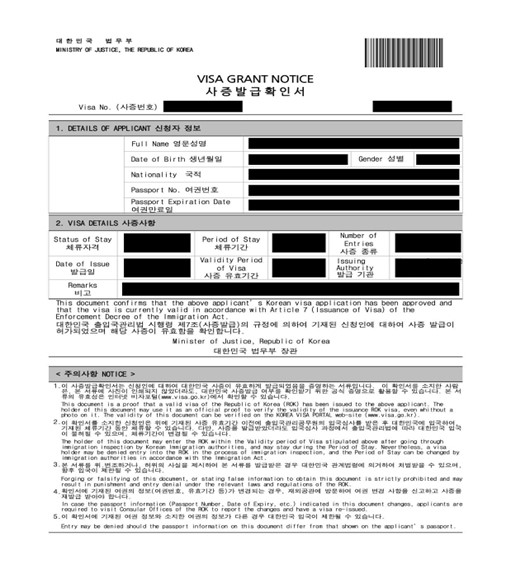
- Day 84: Meanwhile, Emma’s visa code is ready!
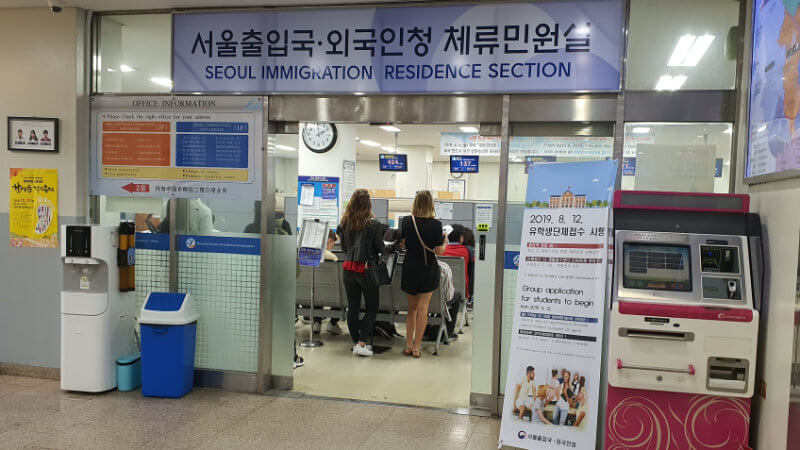
- Day 85: She then submits her FINAL E2 Visa application to Korean Immigration and informs her Aclipse Recruiter.

Month 4: Departure & Arrival!
- Day 98: Emma’s visa has been put in her passport, and she explores her different flight options!
- Day 99: Then, she quickly books her flight and informs her Aclipse Recruiter.
- Day 100 – 114: In the weeks leading up to leaving, Emma and her Aclipse Recruiter have a lot of communication. They discuss her arrival and provide details on what will happen when she gets off the plane. Her Aclipse Recruiter sends Emma final reminders and tips for training and settling in, ensuring a smooth transition! Emma feels very prepared for her upcoming teaching adventure.
- Day 115: And, finally, Emma arrives in South Korea – she’s done it!
You’ve Made it! You’re in South Korea!

From applying to booking your flight, taking the proper steps to teach English in Korea with Aclipse is quite an adventure in and of itself! Luckily, the countdowns, check-ins, and celebrations with your recruiter make it as stress free and efficient an experience as it can be. You can be rest assured that nothing will be missed and you will land in South Korea as fast as you possibly can. Apply today!
Bethany Coquelle, growing up and living in both the east and west coasts of Canada, serves as an Overseas Recruiter specializing in South Korea placements since 2017! With a multicultural family and a passion for cultural exchange, she understands the transformative power of connecting people from diverse backgrounds. Inspired by the impact teachers can have on students’ lives, Bethany is dedicated to linking educators with their ideal positions abroad. Whether guiding through the intricacies of teaching in South Korea or providing a compassionate ear, she is committed to supporting your educational journey.